A look at our DIY science birthday party. It was a fun party for preschoolers and elementary aged kids with fun experiments and lots of laughs!

This science themed party is a fun way to entertain the kids while possibly teaching them something too. With lots of hands on experiments, we had tons of fun making a little bit of a mess and lots of memories. These activities may also be fun for classroom parties or field days.
Table of Contents
Little Dude’s Theme Parties
It is so hard to believe it, but Little Dude is 6 now! As you probably know by now, I love to throw him themed parties for his birthday.
Last year we had a Dr. Seuss themed party complete with lots of Dr. Seuss themed food. It was capped off with a Grinch cupcake pull-apart cake.
The year before that it was a train themed party and before that it was a pirate party. We have the best time building parties around a theme.
This year he wanted to invite some friends to his party, so I thought he might want to go to the bowling alley or art center or something. But he kept asking what the theme would be.
Apparently a bowling theme at the bowling alley wasn’t good enough. Even though I offered to try to making a bowling ball cake and bowling pin cupcake cake.
So we settled on a science theme party at home. I have to admit, I am glad that’s what he wanted to do. We had such a good time planning and executing the party together.
Having him so involved in the planning is a bit of a mixed blessing. It is fun to watch him get so excited about his party, but sometimes it does knock my vision a bit off course…
I suppose his party is supposed to be about him though, so I try my best to accommodate!
We had fun picking out experiments and testing them to be sure they’d work like we wanted. We ended up assembling quite the mass of materials but we were both really excited to share them with his friends.
The Science Kits for Our Helpers:
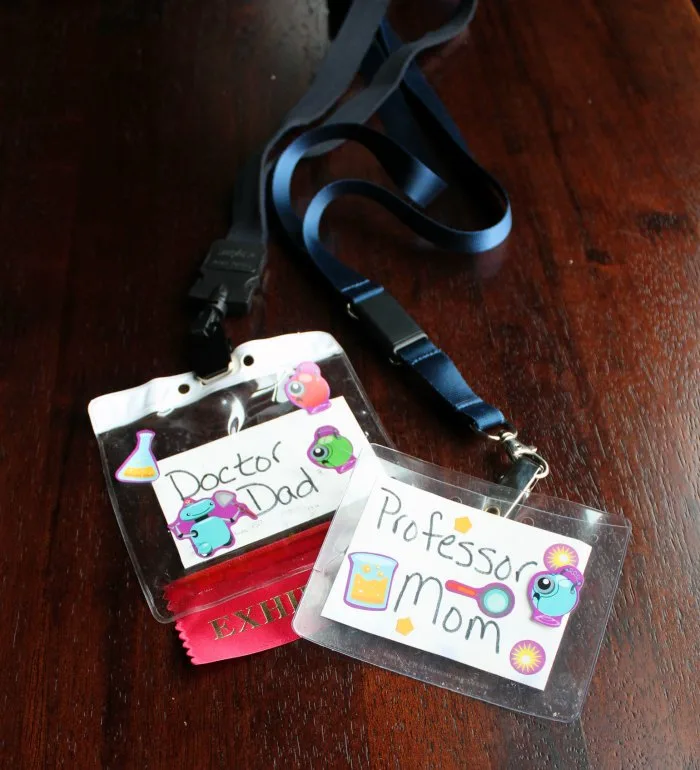
We started by passing out kits to each of our scientists. I had a bunch of lanyards left over from conferences I have been to. So we made name tags for each of our friends.
We made them all doctors and professors and decorated their name tags with science stickers. This made them super official. Of course mommy and daddy had name tags too!
Little Dude enjoyed putting the stickers on the tags and got super excited about the party as he saw them come together. His got some extra decorations, of course, since it was his special day.
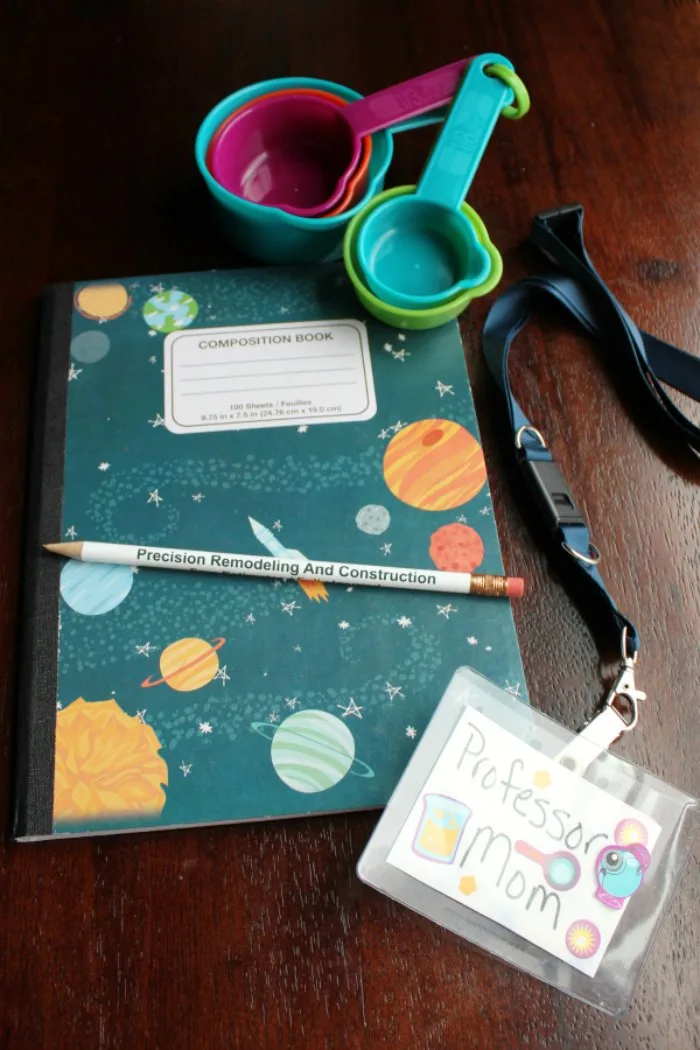
When it was time to get started, the birthday boy passed out a science kit to each of his friends. We assembled the kits in gallon zipper bags and put names and more stickers on each one.
Each scientist got a composition notebook so they could take notes of any future scientific discoveries they might make. They also got a pencil to jot down any findings they may want to remember.
To do some of our experiments, we needed to do some measuring. So each scientist got a set of measuring cups. I forgot to include it in the picture, but we had pair of safety glasses in each kit as well.
The Science Experiments:
Blowing Up Balloons
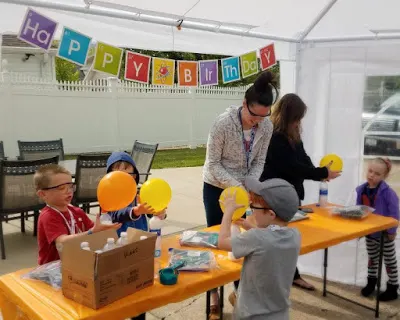
After passing out the kits, I told the kids that I didn’t quite have time to do all of the decorating and asked them to help me blow up some balloons to finish the job.
The twist is we didn’t use our mouths. I had a box full of water bottles about 1/3 full of vinegar.
I also had prefilled some balloons with a Tablespoon or so of baking soda. (Using small funnels make both of those jobs much easier!)
All they had to do was place the neck of the balloon over the top of the water bottle and dump the contents of the balloon in. The next thing you know, the balloons are blown up!
I had enough for everyone to do at least two balloons. You do need a new bottle of vinegar every time.
Making Snow
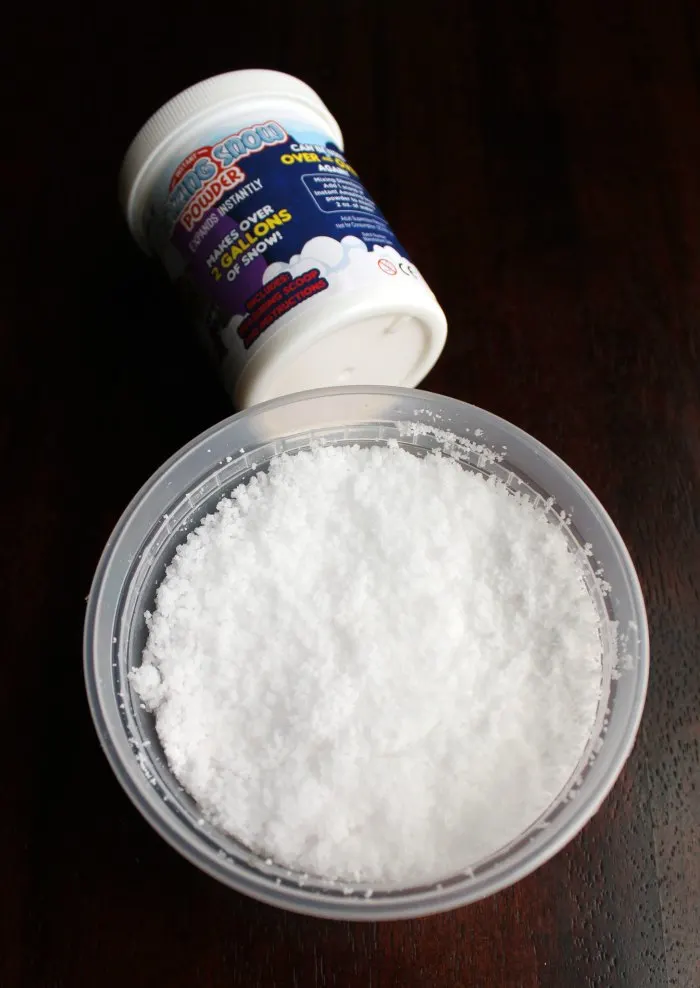
Next up we did a polymer experiment. This snow powder was super fun.
It starts as a really fine white powder, but it is a polymer that loves water. You add about a teaspoon of powder the the kids hand and then slowly pour in 1/4 cup of water.
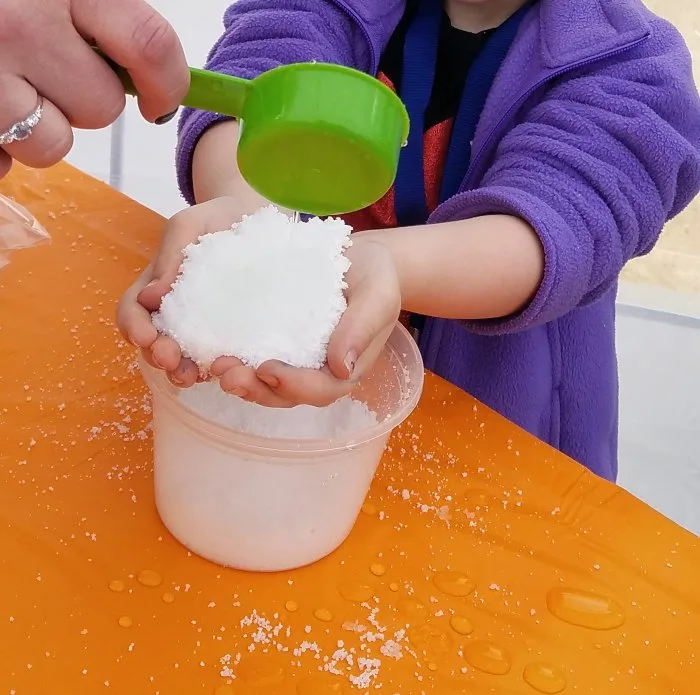
It soaks up all of the water and feels like snow (without the freezing part!) Each kid did it two or three times.
We gave each kid a plastic tub for their snow so they could take it home. If you lay it out flat, it will dehydrate over time and you can do it again.
Making Slime
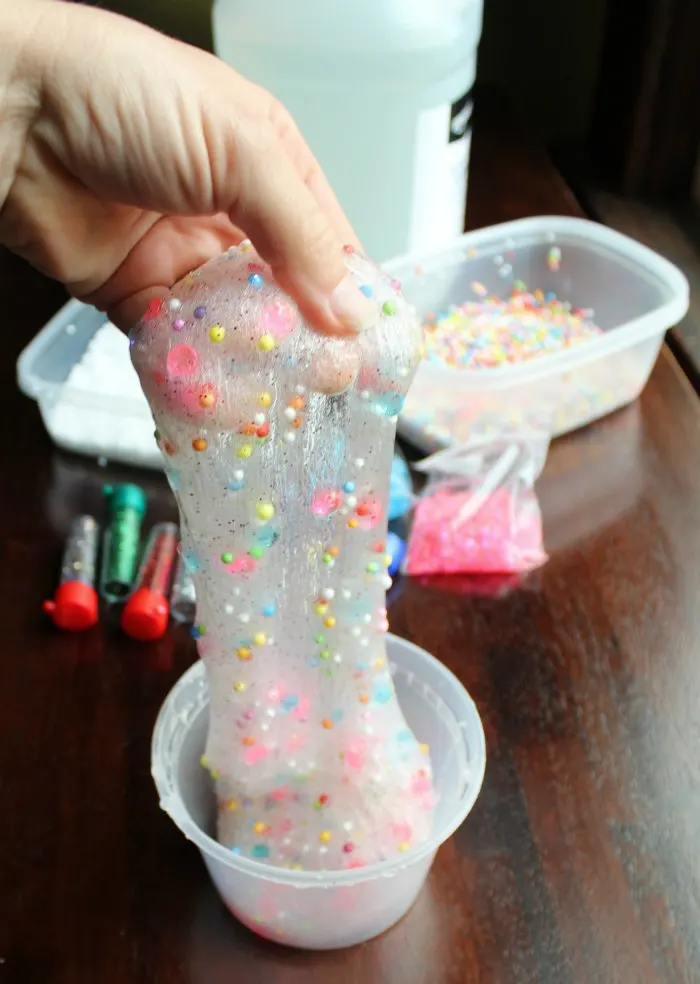
Next up was slime! It wouldn’t be a science party without a healthy dose of slime!
We passed out another round of take home containers. The 16 ounce size was perfect for a batch of slime plus some fun add-ins.
The scientists put 1/2 teaspoon of baking soda in their container followed by 1/2 cup of water. After mixing together we stirred in 1/2 cup of clear glue.
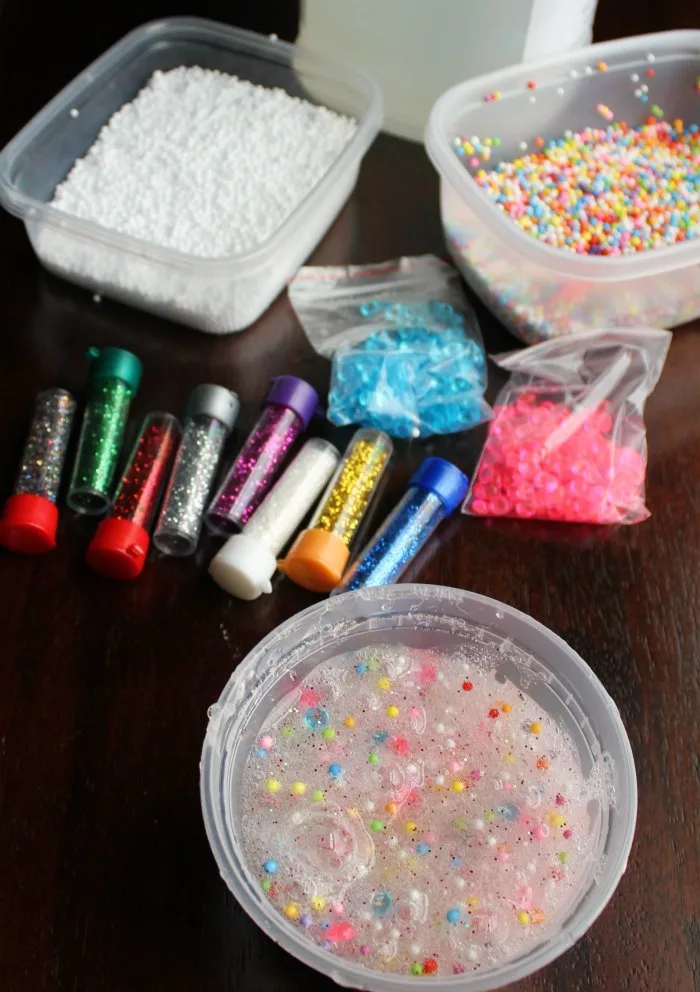
I went a bit crazy and ordered a full gallon of glue. Even after a test batch, the batches at the party and 4 more batches with a friend the next day we still have over a half gallon of glue left.
You could easily get away with less unless you are hosting a huge party!
We had fun Styrofoam balls, lots of glitter and some beads to mix into our glue. Doing it at this stage makes it a lot easier to mix in. The kids had fun picking their favorite additions.
After that all you have to do is mix in 1 Tablespoon or so of contact solution. We started by stirring in the Tablespoon. If it is still sticky, you can add a bit more.
The more you play with it, the more it comes together. Their slime creations were all a lot of fun!
Mentos and Coke
We saved the biggest and potentially messiest experiment for last. You can definitely pull this off without getting too messy… unless you are a bunch of 6 to 8 year old boys.
Then there is a one hundred percent chance of mess. But if you are a parent of a boy about that age, you are accustomed to mess. So this shouldn’t catch you too off guard.
That’s right… we did the mentos and diet soda! It was an absolute blast. We did go all out and get some geyser tubes.
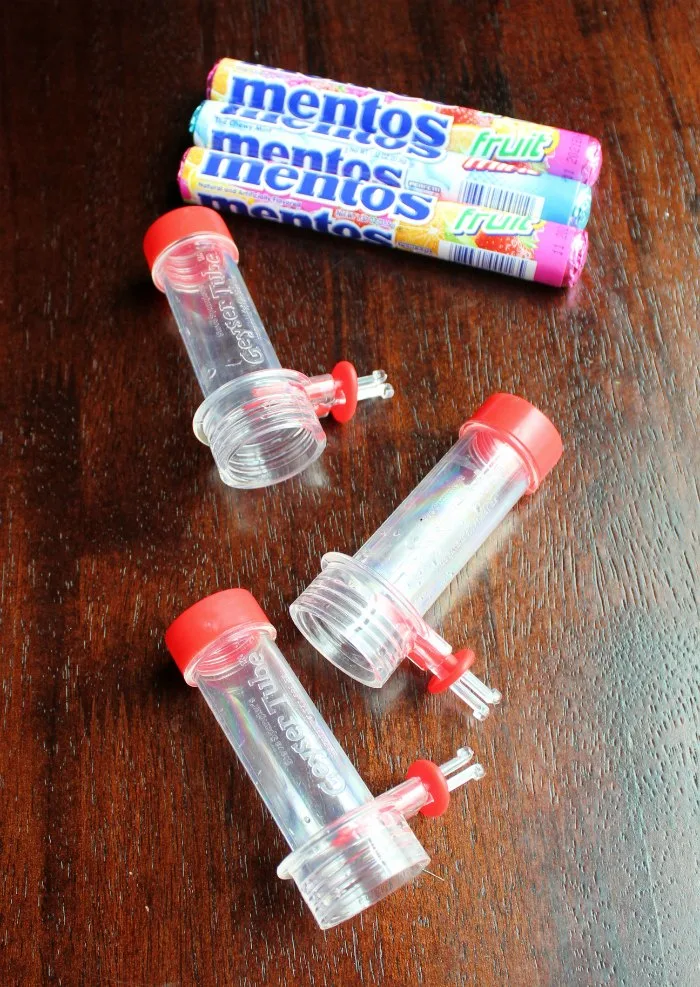
They worked really well for allowing us to help get things set but the kids still got to pull the trigger. You load the tubes with mentos and the screw them on to the top of a bottle of soda.
Once you are set, you pull the tab and the mentos drop into the soda. This gives you a chance to leave the immediate area before you have a soda fountain.
Of course the boys couldn’t help but try to catch some in their mouths. And jump on the bottles. And be boys.
It was a hoot watching them. Hopefully no parents were too mad over their sticky child.
The Science Food:
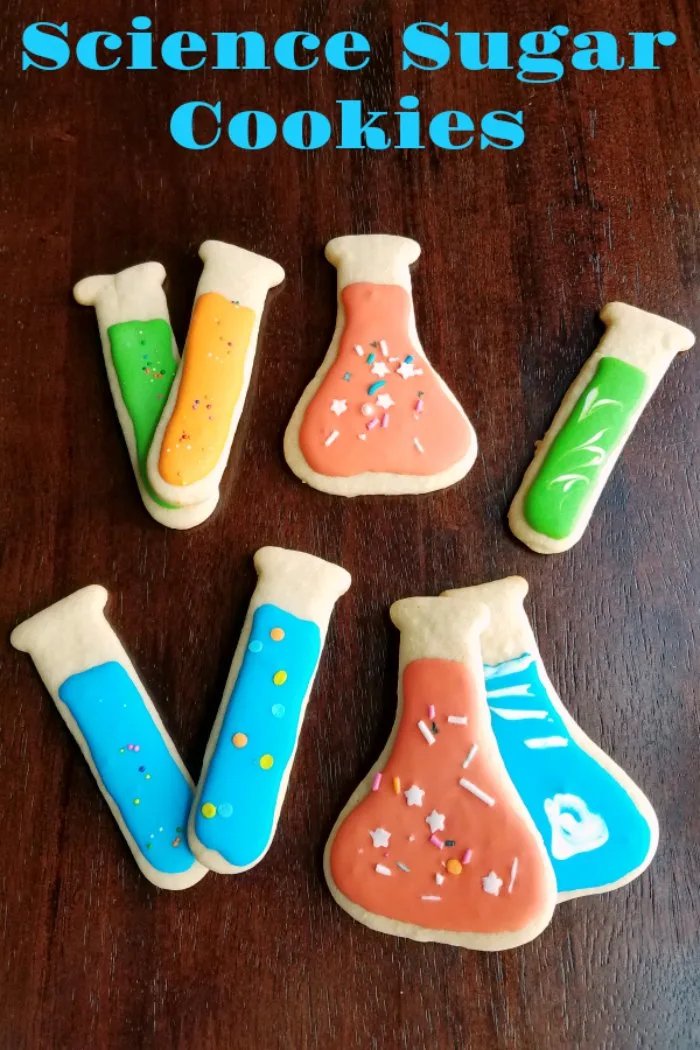
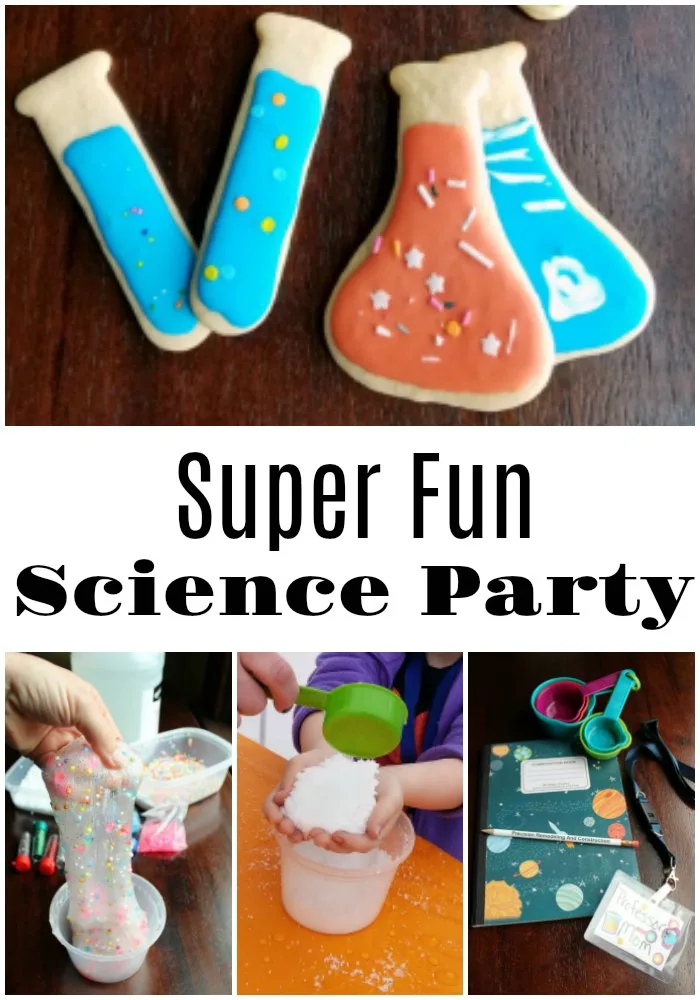
A couple days ahead of time we made and decorated some science sugar cookies. I already had a test tube and Erlenmeyer flask cookie cutter (you can get similar ones from Amazon here.)
We made my go-to sugar cookie dough, with the exception of the flavoring. He wanted to choose and went with maple. We thought he might have been a bit heaving handed adding the maple flavoring, but I have to say they turned out pretty tasty!
Of course we decorated them with royal icing. We kept it pretty simple as we had to whip out a bunch of them on a weeknight. I think they turned out pretty cute anyway.
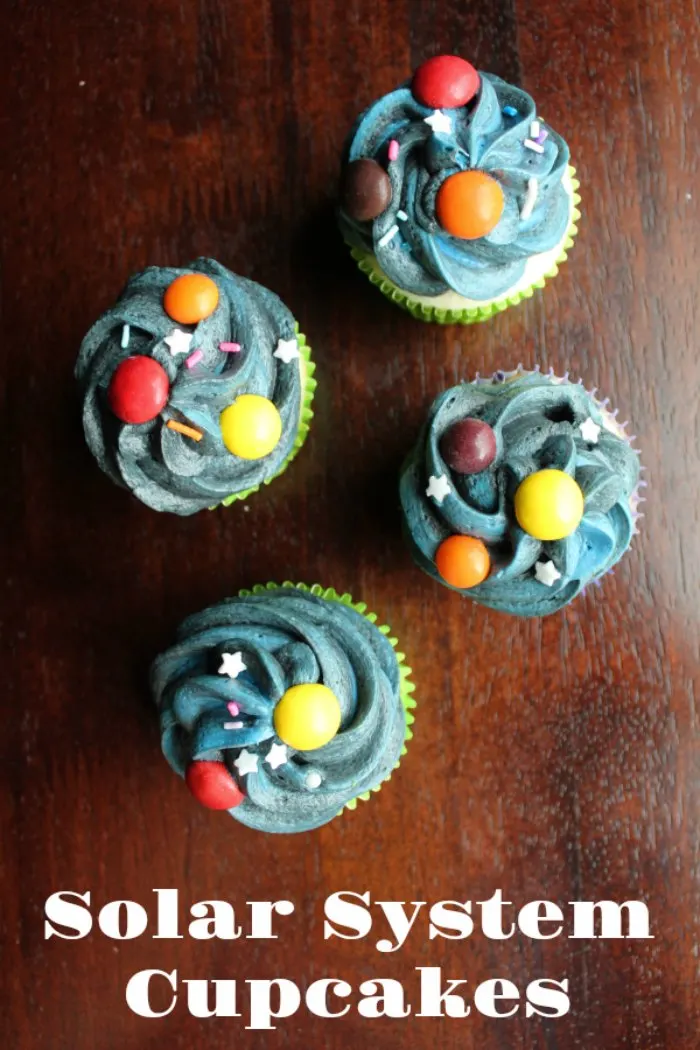
We had been planning on doing an Erlenmeyer flask cupcake cake until the last week. Then Little Dude decided he wanted solar system cupcakes.
He had colored a solar system mobile we happened to find at the dollar store. So we hung that above the cupcakes.
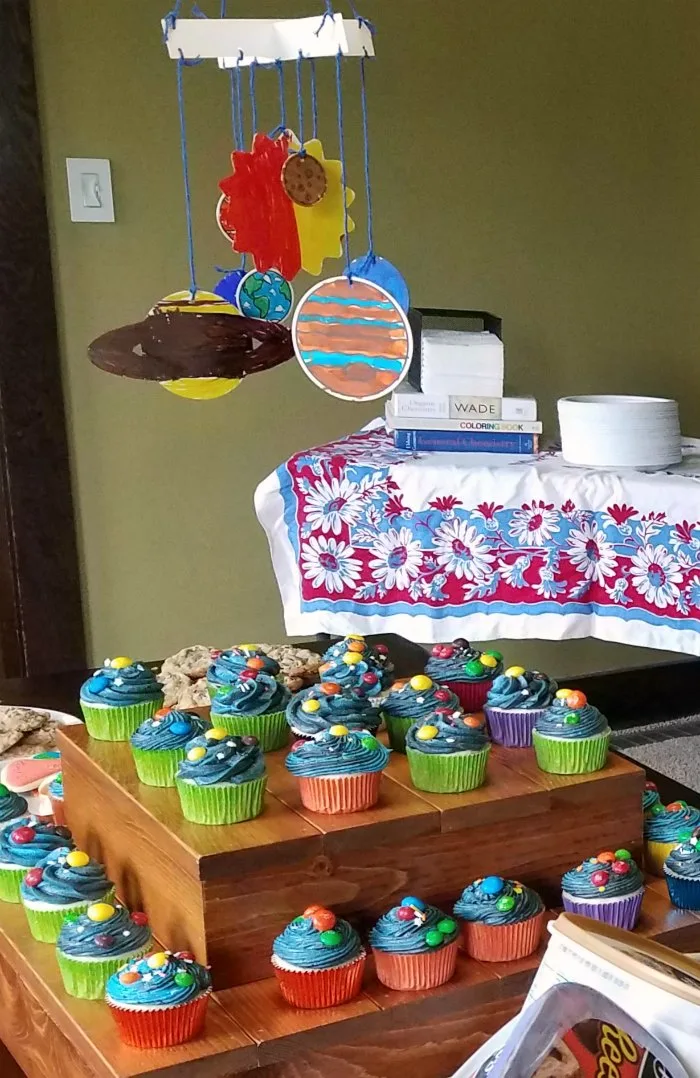
We made our favorite semi-homemade white cupcake recipe and a load of buttercream. We dyed half of the frosting blue and the other half a really dark gray.
After piping dark space onto our cupcakes, we decorated them with peanut butter M&M and Skittles planets. He was making up stories about his solar systems and the planets as he was doing it.
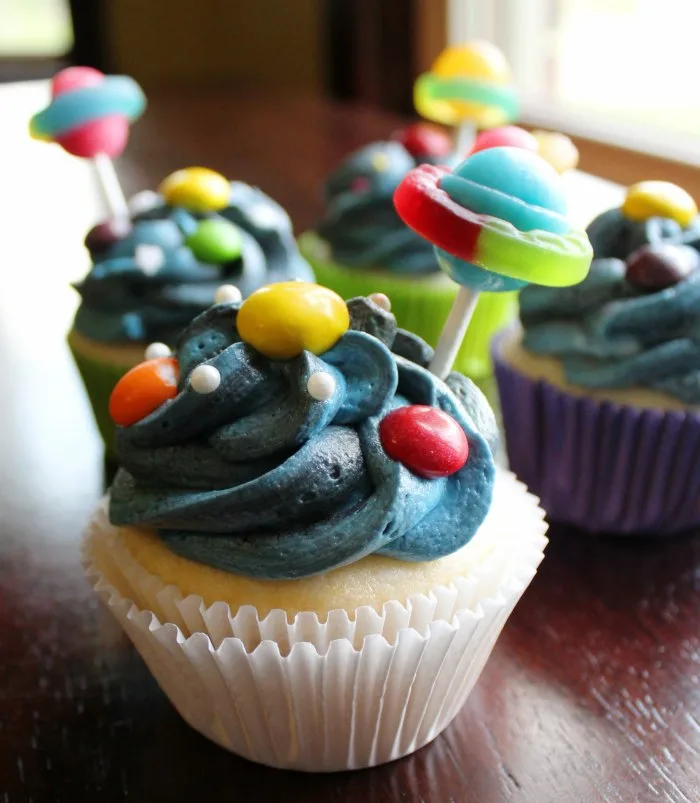
We used some sprinkles to make them extra fun. After seeing some pictures on Pinterest, we tried to make some Saturn looking planets out of dum-dums and gummy lifesavers.
I would suggest you save yourself the hassle. No matter what we tried, or how many times we tried, those darn gummies kept coming off the suckers.
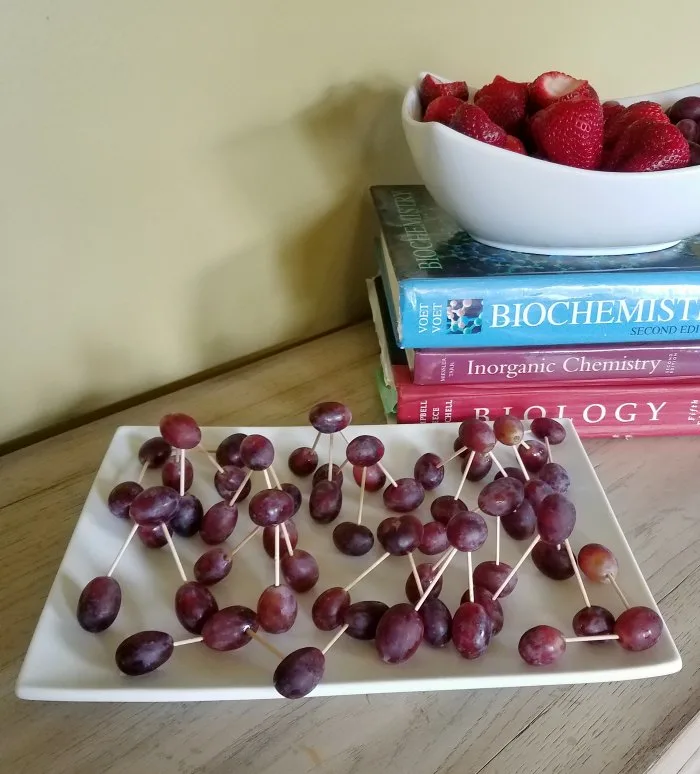
Lastly I made some compounds out of grapes. I had planned on doing grapes and strawberries, but all of the strawberries at the store were HUGE!
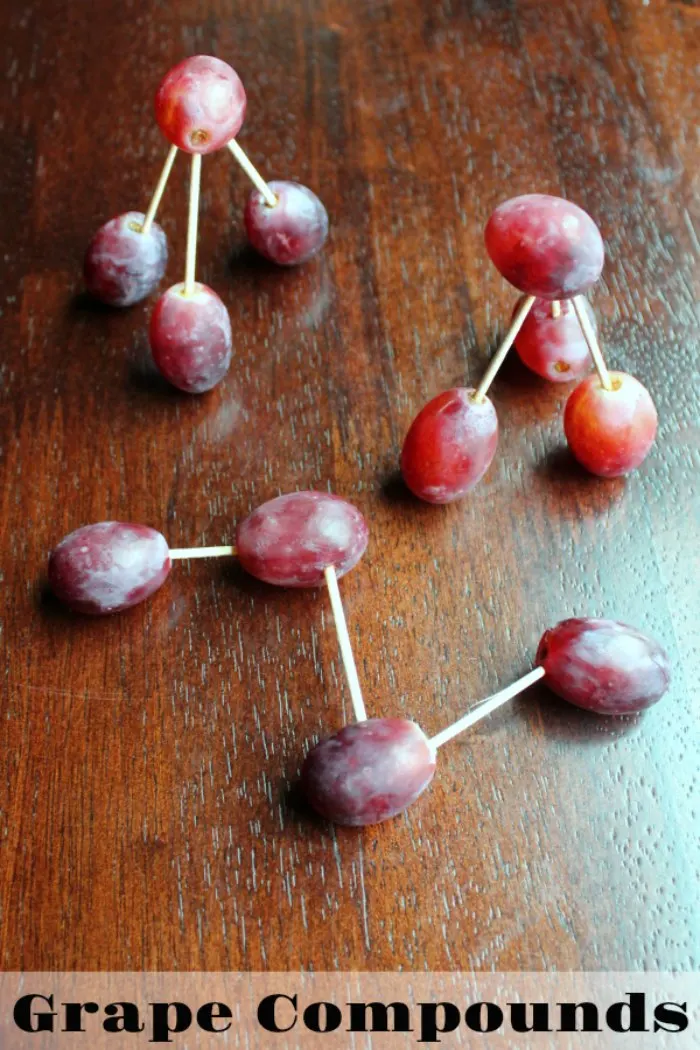
So I just did a bowl of strawberries and some different grape compound configurations. Toothpicks made for an easy way to join my grape “elements” together.
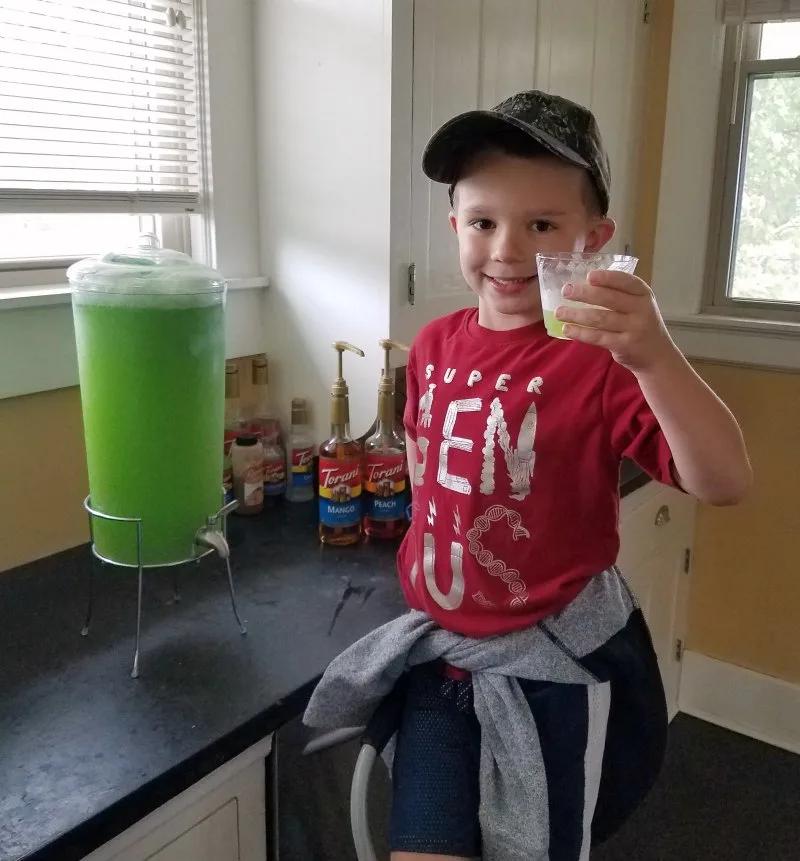
A party needs a punch so we made green slime punch. It is a twist on our favorite sherbet punch and I will share the recipe with you tomorrow!
Val
Wednesday 15th of May 2019
So much fun! My son who is 8 would love this party!
Carlee
Saturday 8th of June 2019
It was a blast and not really that hard to do!